
Batomon Showdown Comps and the Current Meta
Almost every comp runs on cooldown speed, which is why Boomagon is everywhere. Here are the four winning lines, the community argument and a build order.

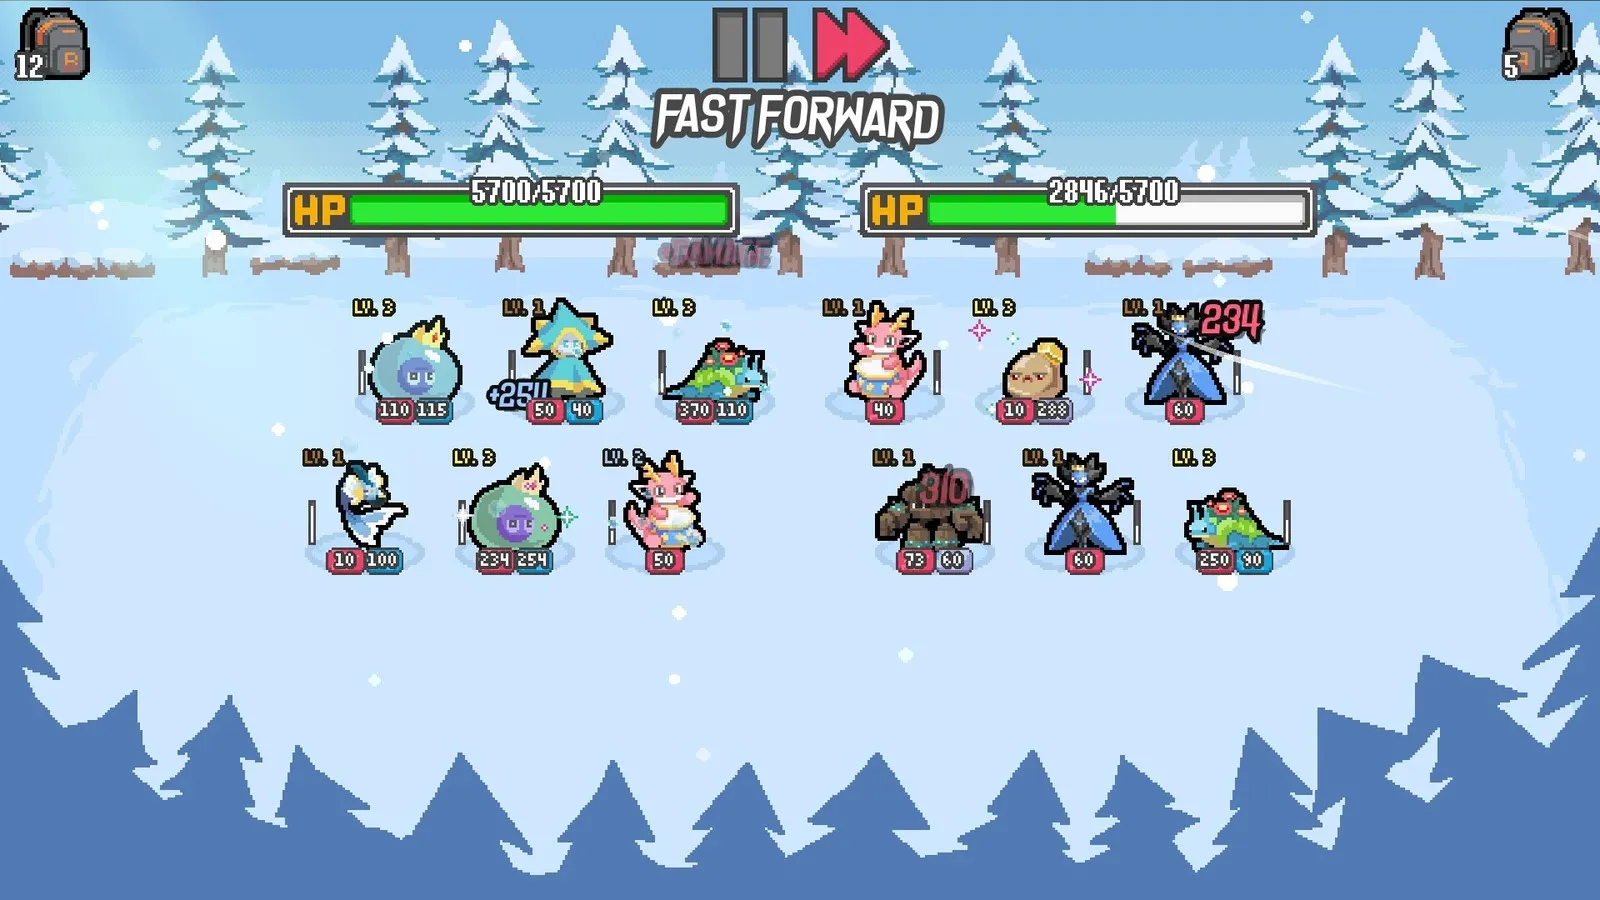
Right now the Batomon Showdown meta comes down to one thing: crushing cooldown speed so that every “on cast” payoff fires several times a second. That is why Boomagon and Dracana turn up in nearly every comp. Players argue about it constantly, and it is still the most universal accelerator in the game.
Alongside cooldown engines, shield stacking, poison and burn, and electric Shock bursts all reach 10 wins without much trouble. Which one you end up on has less to do with preference and more to do with what your shop offers in the first few days.
The four lines that win right now
| Line | What makes it work | Typical engine pieces |
|---|---|---|
| Cooldown engine | Crush the cast interval and everything that triggers “on cast” multiplies | Boomagon, Dracana |
| Shield stacking | Shields eat damage first and reduce incoming status damage, buying time to outlast into sudden death | Pebbler, Craghorn, Geminis, Stalagrove |
| Poison and burn | Damage that ignores attack tempo, so the opponent’s cast speed stops mattering | Venopuff, Puffloon, Thorntail, Noxalith |
| Electric Shock | Shock adds damage taken, so a fast caster can burst a target down quickly | Bumblebolt, Velocet, Humbolt, Ironcore |
These are not mutually exclusive. A cooldown engine is often just the accelerator bolted onto one of the other three, and shield boards are the standard answer to poison.
Why cooldown dominates
The 11 June 2026 update collapsed every cooldown effect into one stat: Cooldown Speed. The developer’s own conversion is blunt. +100% cooldown speed doubles how often a Batomon casts, so a 6-second cooldown becomes 3 seconds.
The problem is that the stat stacks. In creator footage, cooldowns have been pushed to 0.1 seconds and even 0.0 seconds. Once you get there, every payoff that triggers on cast scales up with it until the numbers stop meaning anything.
High-rank players agree on the diagnosis: it narrows what is playable, because declining to chase acceleration costs too much.
The common community argument (from player discussion, not an official statement): every build seems to need Boomagon somewhere in the middle of a run, which flattens out cooldown differences as a balance lever and punishes anyone who finds it late. The counter-argument is that removing it would mean reworking every unit that supplies cooldown on its own, or the number of viable builds drops instead of rising.
You can trace the developer’s response in the patch history: three separate raises to late-game base HP to slow fights down, but no change to the cooldown system itself.
Building from day 1 to day 10
Fill in strength before you chase rarity. Cheap common and uncommon bodies hold your lives together on days 1 and 2, and rare units do not even show up until your shop rank is high enough.
Pick one line and buy only for it. Running two lines at once usually means neither of them comes together.
Get your engine piece early. A cooldown line needs its accelerator, a shield line needs a shield source, a status line needs a status source. Once the engine is in, every other slot exists to feed it.
Stack your existing units with trinkets instead of swapping them out. Swapping throws away the permanent buffs you have already banked.
From day 5, every loss costs 3 lives. If the line clearly loses to same-day boards, buy a cheap stopgap first and stop waiting for the perfect card.
How multicast actually stacks
Multicast sits at the centre of most burst builds, and the game gives you no general-purpose button for it. These are the routes players have confirmed:
- Feather-type trinkets that only apply when the unit is alone on your board. Duplicator trinkets let you hold several copies.
- Saberhorn, which grants multicast to the unit on its right, more at higher levels.
- Stellagon, which grants multicast to units with no abilities.
- A legendary trinket that grants multicast to whatever sits in the top middle slot.
- A mythical trinket that grants multicast to a random unit.
- Wishwash-style copy loops that snowball trinket count into more feathers and duplicators.
The first one has a trap: it only fires when that unit really is your only unit, so a bad position wastes the whole setup.
How to check what is winning yourself
The meta shifts with every patch, so the reliable move is to verify it yourself.
When you read a stats page, read its version and sample size first. A short window, a small sample, or a snapshot from before the current build all reduce its value. It is also worth watching whatever high-rank players posted most recently, and noting the patch number and interface in the video.
Then keep your own log of what beat you and on which day. Ten runs in, you have a meta table for your own rank, which beats any general tier list.
One thing to expect: 1.0.0 added the Jinto region, and that changed the shop pool. Conclusions about what was strong before 1.0 need re-testing, and this site will not publish a “best comp right now” without a sample behind it.
Related pages
- Batodex and types: how to read a Batomon: rarity tiers, types, and the effects that key off them.
- All trainers: the trainers that rewrite your shop, economy or board.
- Beginner guide: how a run is structured and what to check when you are stuck.